Sunday, August 2, 2015

Wooden Image Transfer

Hello there everyone!
It has been quite some time since my last post. It's been weighing heavily on my mind lately that I really needed to get reconnected with you all. So much has happened since I last posted that I wouldn't even know where to begin! Lets jump right into it, shall we?

If I were to have to choose one word to describe my taste, it would be "rustic." I love raw wood and wood that has character… I feel like it adds so much charm to any room. I had been wanting to do wooden image transfers for some time now and I know that it is best if you use a laser printer but I own and ink jet so I was curious to see how it would turn out anyway…

First, I found a picture that I love and printed it out.
(How handsome is he ;))

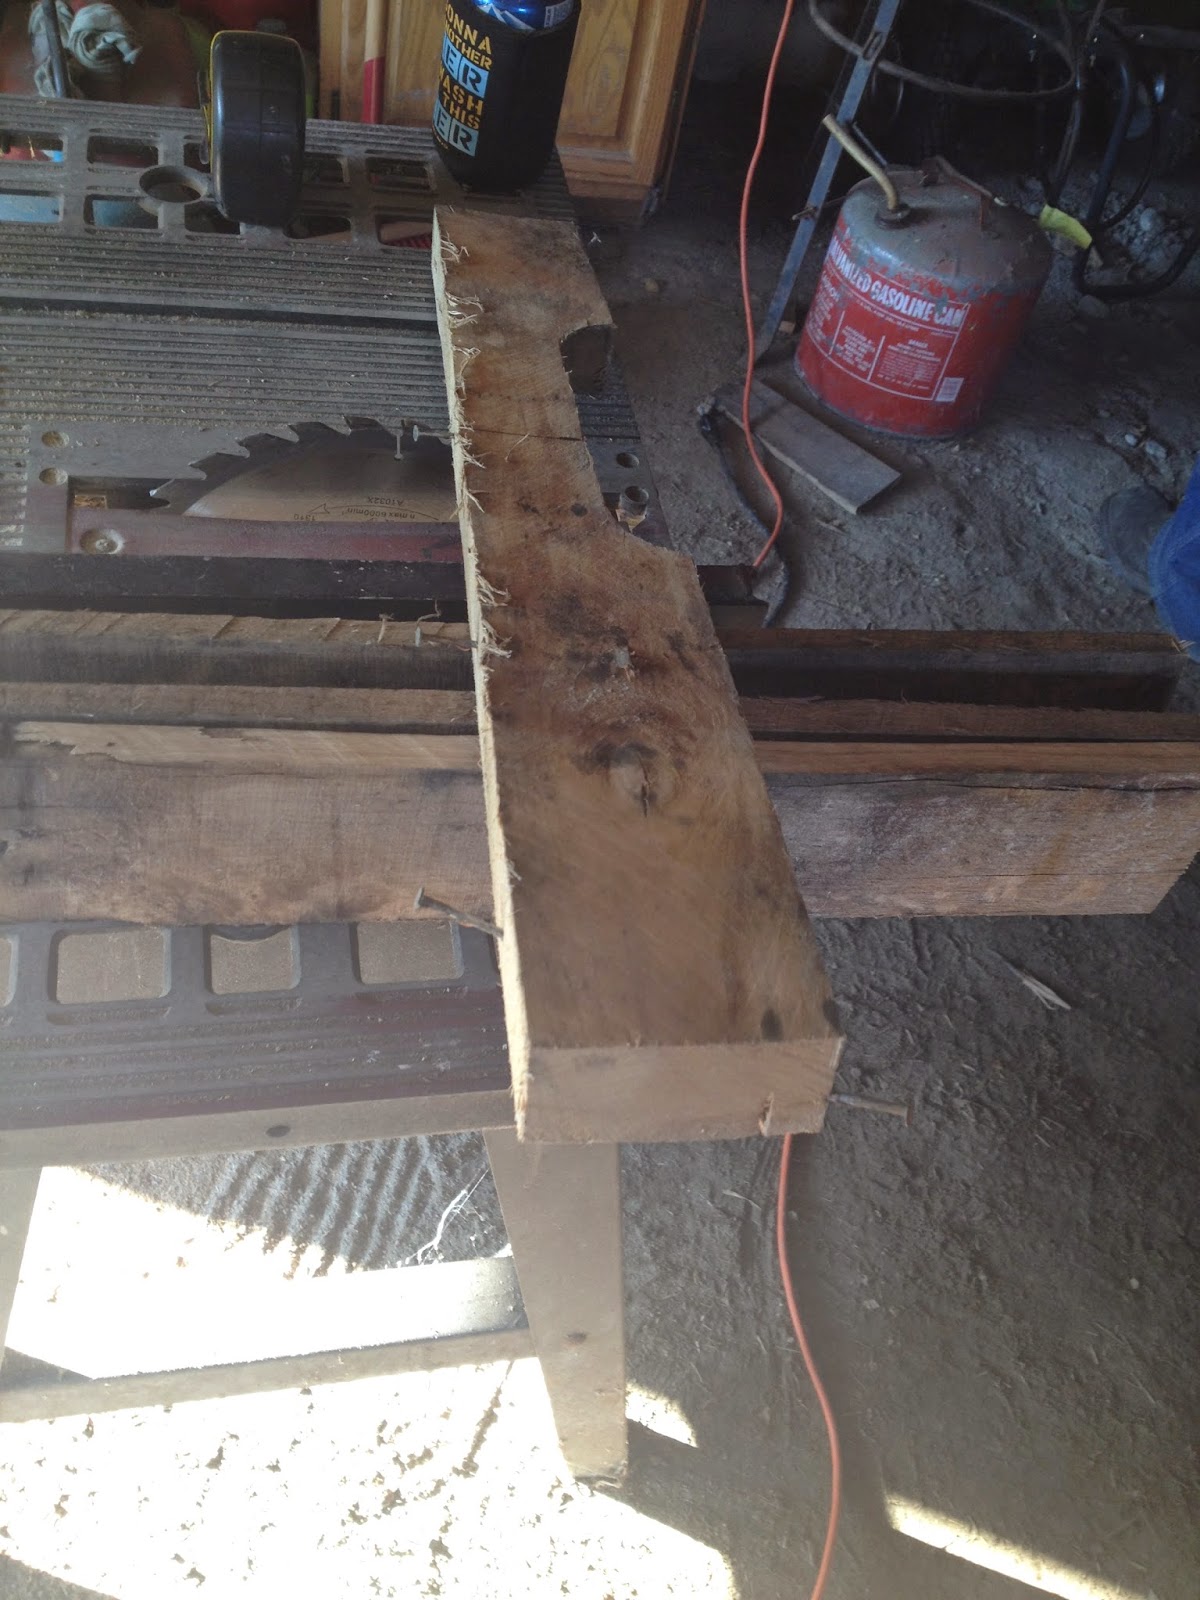
Next, I found the perfect piece of wood to transfer to image on.

Then, I used Liquitex gel and applied it to the wood.

Once you apply the Liquitex, you apply your picture to the wood.
Once the picture is on, it will be really hard to readjust it.
Once you put your picture on the wood, try to rub out any bubbles so the picture
will transfer as best it can. Now, this is the hard part… You have to let 
the picture dry for at least 12 hours. Mine dried for about 15 hours, so 
if you let it dry longer it will not hurt the transfer.

Now, once the 12 hours pass, you will take a damp cloth and place it on the picture.
You will see the image become brights once it gets wet.

Once damp, you will use your fingertips and rub the paper so that it begins to peel off.

Just keep going, paper comes off in many layers after it is wet. This step takes a while!

Once it is all peeled off, you must let it dry and it will look something like this.

Once it dried, the ink faded a lot because I did not use a laser printer. I then put two coats of Mod Podge on it.

Once dried, I placed it on my hutch :)

I absolutely love the way that it turned out. You are still able to see the knots in the wood along with the grain and I am totally ok with that because it gives it that "rustic" charm. Next time, I will make sure to try it out with a laser printer so that the image will transfer darker. Once I give it a try I will share it with all of you! 

Thanks for checking it out!
xoxo,
Paige 


Friday, January 9, 2015

Pinterest Inspiration!

Hi Everyone! 
 
First off, I hope that you all had an amazing holiday spent with your family and friends. It's been a little while since my last post so I decided to sit down today and check in with all of you. We were lucky enough to get some snow which lead us to getting a snow day :) Any who, I wanted to show you guys an awesome picture that my sister Lindsey shared with her Facebook friends this morning. Lets face it, we all love Pinterest! I know that that is where I get a lot of my ideas for my projects from. You could get ideas for DIY, paint colors, food recipes and so much more. My sister had found a picture of a coffee and tea bar that she had fallen in love with and knew she had wanted to recreate in her home. I'll stop writing and show you the Pinerest picture compared to her version. 

Lindsey's version is the one on the right with the letter "D" up top. I am absolutely in love with the way that it turned out! It's a great way to stay organized and it looks nice. In the Pinterest picture, everything is from Hobby Lobby, but unfortunately they didn't have the table in stock so Lindsey did a little research until she found one elsewhere that she liked. I hope this inspired you as much as it did me!

Have a great day guys!
xoxo, 
Paige 

Wednesday, December 10, 2014

DIY Holiday Wreath

Hey everyone!
I can't believe that there is only 15 days left until Christmas! Jason and I finally got around to going and picking out a tree and bringing it home and decorating it this past weekend. As always, it turned out beautiful and the pups are already sleeping underneath it waiting for Santa to visit!

Here's a picture of Jason and I while picking out our tree :)

And here is our tree…

While Jason was trimming the bottom of the tree and taking off some branches, I was thinking that it couldn't be all that hard to make my own wreath for the front door from the extra branches that he was taking off. For the last couple of days those extra branches have been sitting in our fire pit in the backyard and today I decided to bring some in and give it a try…

First, I put our painters cloth on the dining room table since the branches were wet and also to help make the cleaning process easier.

Next, I went to my closet and took out a metal hanger. If you use the dry cleaners often, they almost always return your clothing on these metal hangers.

You must take the hanger and unravel it. Try your hardest to make it into a circular shape like so…

Once you feel as though you have it how you want it, tape the two ends together… I just used scotch tape but any sort of tape should do the trick.

And now you have a metal circle!

Since my circle was done, it was time to take the branches and begin cutting them into pieces.


I had to think for a few minutes how I was going to get the beaches to stay on the bent hanger and I ended up deciding to use zip ties. I'm sure some sort of wire would do the same trick as well.


I just kept putting more and more chunks on. I didn't worry about the extra zip ties sticking off because I would just go around at the end and cut them with the scissor. 


Once I got all the way around, I decided that I wanted to hang it on my front door to make sure that I was going in the right direction…

After seeing it I knew I needed to keep adding to it to make it thicker…Once I felt it was full and I spread the branches, I made a bow and stuck it on. This was the final result.

For my first wreath ever and supplies that I had around the house I don't think it turned out half bad! I'm no bow expert so maybe I will end up putting an already made one on it… who knows!

Thanks for stopping by!
xoxo, 
Paige


Saturday, November 29, 2014

It's beginning to look a lot like Christmas!

Hey everyone!
I hope that you all enjoyed your Thanksgiving with your families! I know that this year it felt like i had more to be thankful for then normal… My family and handsome boyfriend were top on my list!

Here is a shot of us all at the dinner table :)
(Sorry mom, love you!)

With Christmas being right around the corner, it is totally normal that I can't wait to decorate the house and create new DIY Christmas crafts! So lets get to it… I am totally obsessing over burlap lately along with my two older sisters so I knew that I wanted to incorporate burlap into my craft. For an early Christmas gift my mom bought Jason and I a gorgeous hutch for our dining room so I wanted to make something specifically to go on it! 

I went to the dollar store and purchased three picture frames

Next, I went to my computer and printed out a jumbo letter "J" a snowflake and letter "Y". If you haven't caught on, it spells JOY with the snowflake as the "O". I made sure to print them on thicker computer paper so they would last while I was tracing them onto the burlap.


Once printed, I cut them all out and traced them on burlap…but first I traced the glass from my picture frame on the burlap so that I knew when I was tracing the letters that they would be centered.


I traced them with a silver sharpie marker also purchased at the dollar store!

Once they were all traced and I cut the squares out, I wanted to put them in the frames to make sure that I was on the right path!

Here's how it looked so far…

Now it was time to paint them… I just used paint that I had around the house, nothing in particular. It was actually paint that I had used to pain our trim when we moved in to our house (bye bye pink 70's trim!)

I chose a very tiny paintbrush to paint inside of the letters because I had never painted burlap and wasn't sure what to expect. It was totally the way to go and I recommend it if you take on this DIY!


Once they were painted, I set them in front of the fireplace to dry quickly!

Once dry, I put them back in the frames!

I love, love, love them! It was so simple and took no time at all to make. Finally, it was time to put it on the hutch!


It is still a work in progress but it's coming along nicely. I just need to purchase a couple of new knobs for the drawers and some garland to spruce it up a bit. I hope you guys love it as much as I do!

xoxo, 
Paige


Tuesday, September 30, 2014

DIY Dog Bowl Pallet Holder

Hey everyone!
I know it has been a while since my last post, but I am happy to report that I was offered a full-time job that has taken up most of my time (not that i'm complaining!) so I haven't gotten around to a new post for some time. Don't worry though… I think this post is pretty awesome and will make up for it!

I am Pinterest obsessed and have always loved the posts where people use old wooden pallets and turn them into furniture for their pets. Being that I have two German Shorthaired Pointer pups, I was determined to give it a try!

While I was driving down the road I had noticed that someone had put this out to be picked up as garbage. I figured that it would be the perfect pallet for my project. I wanted a pallet that was more on the weathered side so it had more character.

The first step is to pull the pallet apart. This step is exhausting! I made the bad decision of doing it in a dress so the picture below is of my brother in law helping me out (ladies, I highly recommend some help with this project… I needed some muscles!)

Finally, you will have your pile of pieces. Just getting the entire pallet apart is an accomplishment! 
(This is not all of the pieces that you will get once it is all apart)

After discussing it with my family, we decided that since all of the pieces were not the same width that it would be best to measure them all out to 3 inches and use the table saw to cut them evenly. 
You can see how much you will be cutting off in the picture above… That is ok though because the final product will have a much cleaner look.

For the top, we used four pieces of three inch wide planks so that it would be a total of one foot. After you have all of those pieces cut and put to the side, you will take some extra pieces of wood and measure around it to create the border. My phone died at this point so I was not able to take pictures of this step. I do need to make a second one for my other dog so when I do I will be sure to upload pictures for you all!

You will have two pieces of wood that look like this piece above. These are the pieces that you want to cut and use as the legs. 


Once it is all screwed together, you will need to measure where your food bowls will go. We used a sawzall to complete this part. You want to make sure that you cut out the perfect circle because you don't want your bowls falling through!

This was during the measuring process to make sure that the bowls fit!

This is the finished product. I am absolutely thrilled with the way that it came out! It adds to the rustic charm of our house. Be sure to put a coat of polyurethane or some kind of water resistant coat on it to protect it and make it last longer!

Gunner loves his new dish holder!

So what do you guys think? I love the idea of reusing pallets for furniture!
xoxo,
Paige