I have been hard at work with this new project that I am about to share with you. Last fall, my neighbors were cleaning out their house to prepare for their big move to the state of Florida. While they were cleaning out their house they had asked me if I wanted three giant mirrors. Even thought I said yes, I really had no idea what I was even going to do with them. For the meantime they were placed in our garage.

(Don't mind the fake deer in the background ;))
After almost a full year of deliberation, I finally decided that I wanted to take on one of the mirrors and give it a frame. Since Jason and I moved in to our house two years ago, I have wanted to put a big mirror at the end of the hallway to make it feel bigger.

First, I enlisted the help of Jason because he was off of work for the day. We went and purchased three pieces of white pine wood that were 8 feet long. They were 1in x 6in. They were also tongue and groove.

We used the handy dandy rip saw to help us out with this project.

First we measured out the mirror and decided that we wanted to make our cuts on a 45 degree angle.

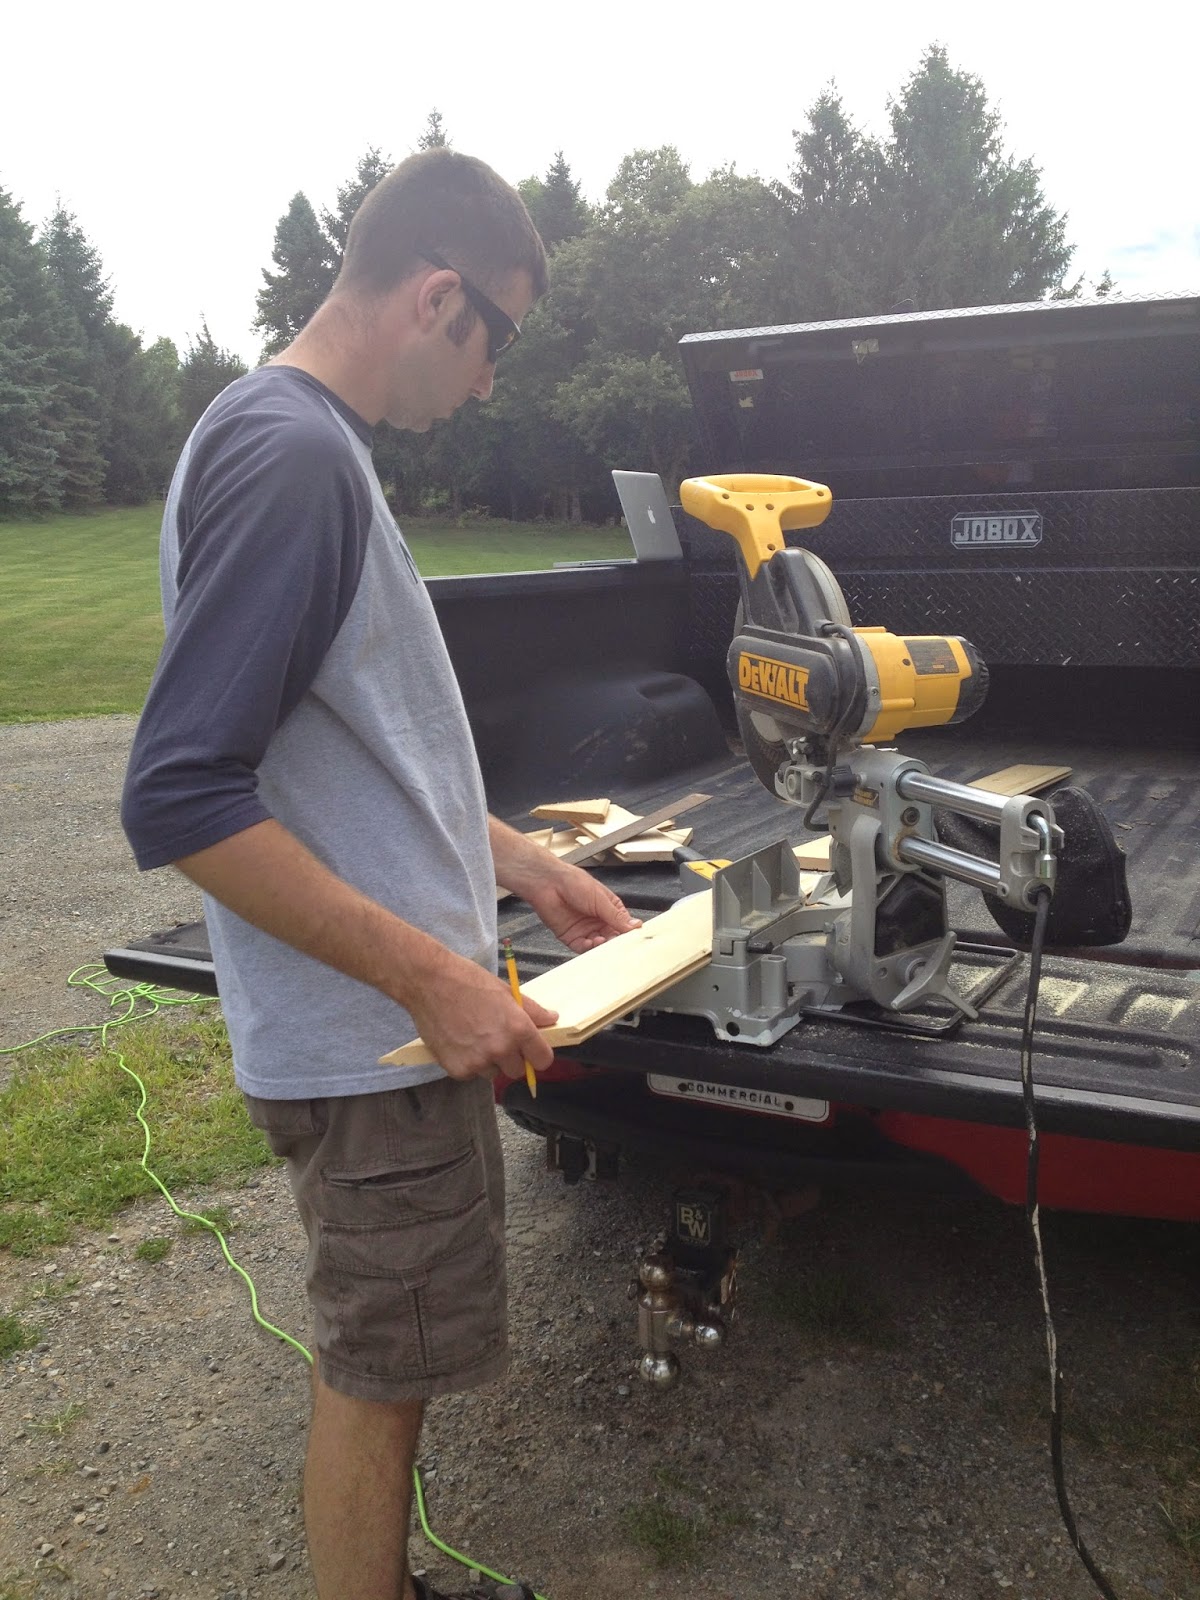
(Such a handyman!)
With all 4 pieces cut, I decided that I wanted to beat the wood up a little bit to give it a worn and older look. I chose a screwdriver while Jason chose a crowbar.

After all 4 pieces were cut and roughed up, I filled the groove side of the wood with glue.

I purchased this glue right a Sears but I am sure you could find something similar at any local hardware store!

Once all 4 pieces had glue, we slid the mirror in to groove as well.

To be sure that they would stay in place, we put clamps on all four corners.

With the clamps holding the wood in place, we secured wooden "L" shaped brackets on each corner for extra strength.

Once all four corners were complete, we gave the glue a few hours to dry.

Once the glue was completely dry, we decided to use some silicone to secure the mirror to the wood.

It's a pretty simple process!

Once all was said and done, we gave it some time to completely dry. But this is what it looked like!
After a couple of days, I decided that it was time to pick out a stain. This was what I chose.

Before applying it straight to the mirror, I tested it on a piece of scrap wood to make sure that I was happy with it. I was!

I took an old rag and decided to apply it to the mirror that way instead of using a paintbrush to avoid streaks.


After two coats of stain, this was my final product! I absolutely love the way that the stain highlighted the marks that we applied with the crowbar and screwdriver. The knots in the wood also give it another level of character!

It is not hanging on the wall yet because we have to move a light switch first, but you get the picture! It turned out so awesome that my sister wants one for her housewarming gift!
This by far has been my favorite DIY project because it beats purchasing a mirror for an absurd amount of money at the store. It is also nice to look at it and know that Jason and I put it together as a team and it is now in our home!
What do you guys think?
xoxo- Paige
Love it!
ReplyDelete